
How to Use a Gold Detector: Step-by-Step Guide for Beginners
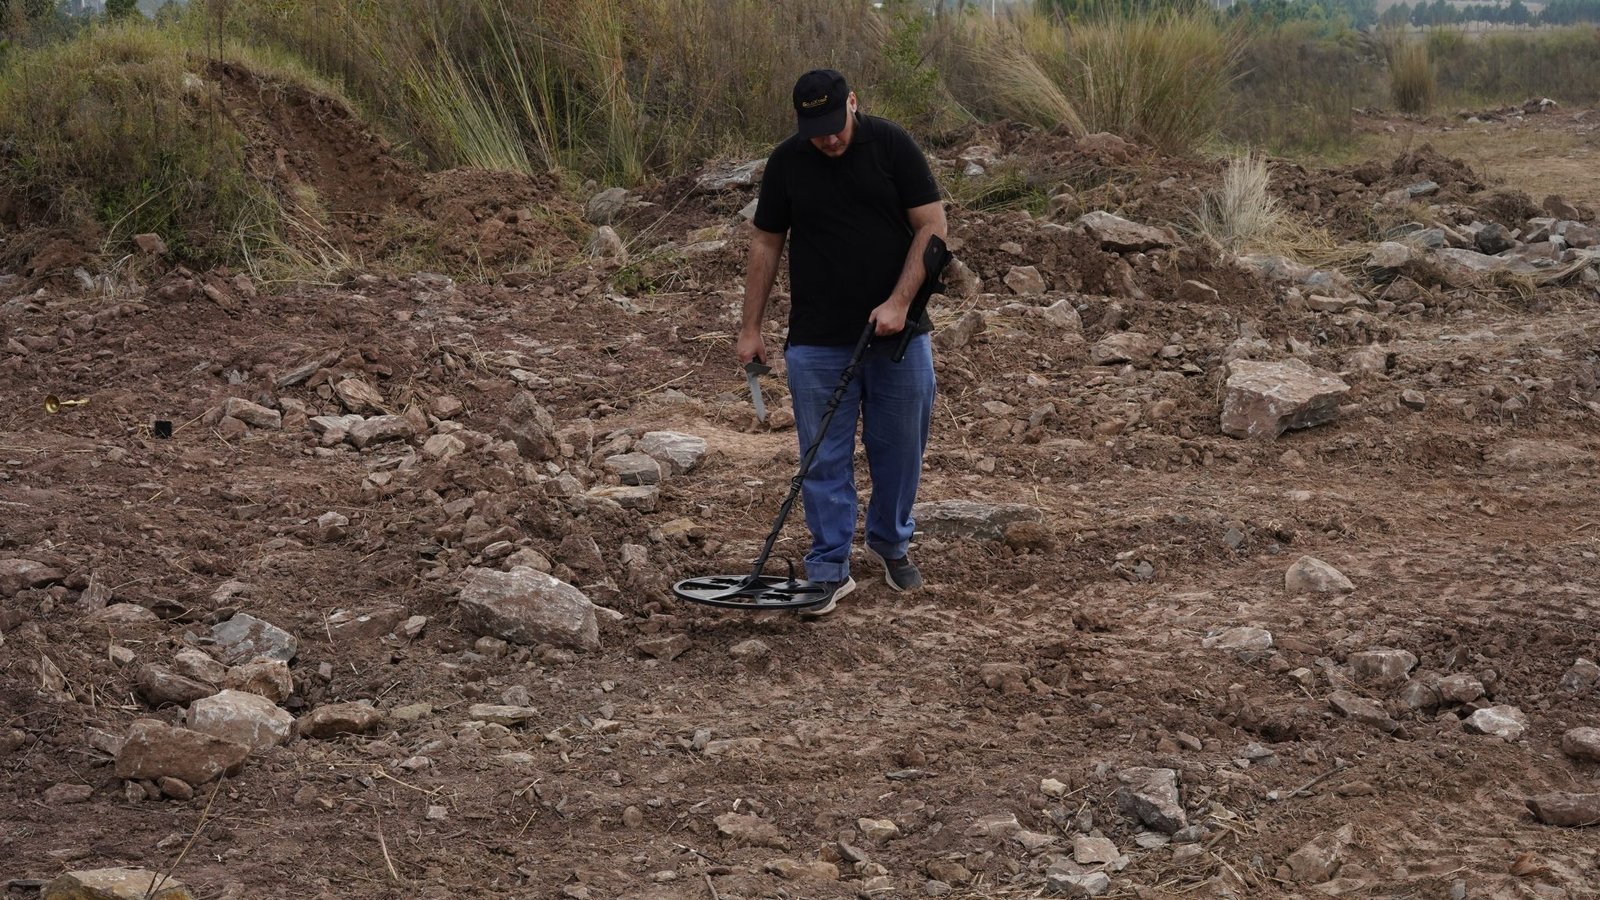
A gold detector will only find what you give it a chance to find. Most missed targets are not the machine's fault — they are the result of setup shortcuts, sweep speed, or walking past a faint signal that deserved a second pass. This guide covers the full sequence, from unboxing to recovery, with the Zambian ground conditions you will actually be working in.
Step 1: Assemble and learn the machine indoors
Before you go anywhere, assemble the detector at home and spend an hour with it and the manual. Adjust the shaft so that with your arm relaxed at your side, the coil sits flat on the ground about 25 mm above the surface. A shaft set too long forces you to hold the coil at an angle, and an angled coil loses depth on every sweep.
Then run the coin test. Lay out a gold ring, a small coin, a bottle cap, and a nail on a wooden table or dry ground. Sweep each one at different heights and listen. You are training your ear, not testing the detector. Every machine has a distinct sound for good targets and for iron, and learning that difference indoors saves you hundreds of pointless holes later.
Step 2: Noise cancel and ground balance
These two steps take ninety seconds and make more difference than any other setting.
Noise cancel shifts the detector's operating channel away from electrical interference — power lines, phone masts, other detectors, even a nearby vehicle. Run it every time you arrive at a new site, and again if the machine starts chattering for no reason.
Ground balance tells the detector to ignore the mineral content of the soil. In much of the Copperbelt and across Zambia's lateritic soils, mineralisation is high enough that an unbalanced machine is close to useless. Most detectors balance by pumping the coil up and down over clean ground until the machine falls silent. If your detector has tracking ground balance, leave it on when moving between soil types.
Re-balance whenever the ground changes — moving from a dry hillside into a riverbed is a completely different mineral environment.
Step 3: Set sensitivity honestly
Sensitivity is the setting beginners get most wrong, usually by maxing it out. The correct approach is to raise sensitivity until the machine becomes unstable and starts producing random noise, then back it down two or three notches until it runs quiet.
A detector running quietly at 70% sensitivity will find more than the same detector chattering at 95%, because you can actually hear the faint signals through the silence. Noise masks small gold, and small gold is usually what you are there for.
Step 4: Choose discrimination carefully
Discrimination rejects target types you do not want to dig. It is tempting to discriminate heavily and dig only clean signals, but this is how gold gets missed.
Small gold nuggets, thin gold chains, and gold in mineralised ground often read low on the conductivity scale — the same range as iron and foil. Reject that range and you have rejected your target along with the rubbish. In gold-bearing ground, run in all-metal or with minimal discrimination and accept that you will dig junk. That is the cost of not missing the find.
Heavy discrimination has its place on trashy public ground where you are hunting coins and jewellery, not in gold country.
Step 5: Sweep technique
This is where most detecting time is actually lost.
- Keep the coil low and flat. Roughly 25 mm above the ground, parallel to the surface, all the way through the swing. Lifting the coil at the end of each arc is the single most common technical fault, and it costs depth exactly where your swing overlaps.
- Sweep slowly. Around one metre per second, or roughly two seconds per full swing. Almost everyone sweeps too fast. Slow down until it feels tedious, and you are probably close to correct.
- Overlap every swing by half a coil width. Non-overlapping swings leave unsearched strips between passes, and targets sitting in those strips are invisible.
- Work in a grid. Cover an area in parallel lines, then cover the same area again at ninety degrees. A target that is silent from one direction often sings from the other, particularly elongated objects and targets under a rock.
Step 6: Investigate the signal before you dig
When you get a repeatable tone, do not immediately start digging. Sweep it from four directions. A genuine target usually responds consistently from every angle; ground noise and hot rocks tend to sound different depending on approach.
Then use the pinpoint mode. Cross over the target in an X pattern to find the exact centre, and note how strong the signal is — that tells you roughly how deep to expect it. Marking the centre with your boot heel before you dig saves a lot of widening the hole later.
Step 7: Recover the target properly
Cut a plug rather than a hole. Push your digging tool in at an angle and lift a wedge of soil, keeping any vegetation intact on top. Place the plug on a mat or cloth beside the hole.
Sweep the hole again. If the signal has gone, the target is in the plug — break it apart over your cloth, or use a pinpointer to locate the object in the loose soil. If the signal is still in the hole, remove more soil in small amounts and re-check between each scoop. Rushing at this stage is how detectors put deep scratches through gold coins.
Then fill the hole and replace the plug. Beyond simple courtesy, leaving open holes is the fastest way for detectorists to lose access to land, and in Zambia most productive ground is on somebody's property.
Working Zambian conditions
A few adjustments matter locally. Detect early morning or late afternoon — midday heat drains both you and your batteries, and concentration drops long before you notice. During the rainy season from November through April, damp soil actually improves conductivity and can give slightly better depth, but river banks become unstable and should be treated with caution.
Carry more water than you think you need, tell someone where you are going, and keep the detector out of direct sun when resting. Heat is hard on control boxes and very hard on lithium batteries.
Common beginner mistakes
- Sweeping too fast — the most universal fault, and the easiest to fix.
- Skipping ground balance on mineralised soil.
- Running sensitivity so high the machine is unusable.
- Discriminating out the low range where small gold lives.
- Abandoning a site after one pass instead of gridding it in two directions.
- Digging before pinpointing, then damaging the find.
Expect your first several outings to produce mostly nails, wire and bottle caps. That is not failure — it is how you learn what your machine sounds like. The detectorists who find gold consistently are the ones who put in the hours before it happened.
Need help choosing a detector?
We can recommend a model based on your budget, soil type, and target.
Browse DetectorsRelated posts
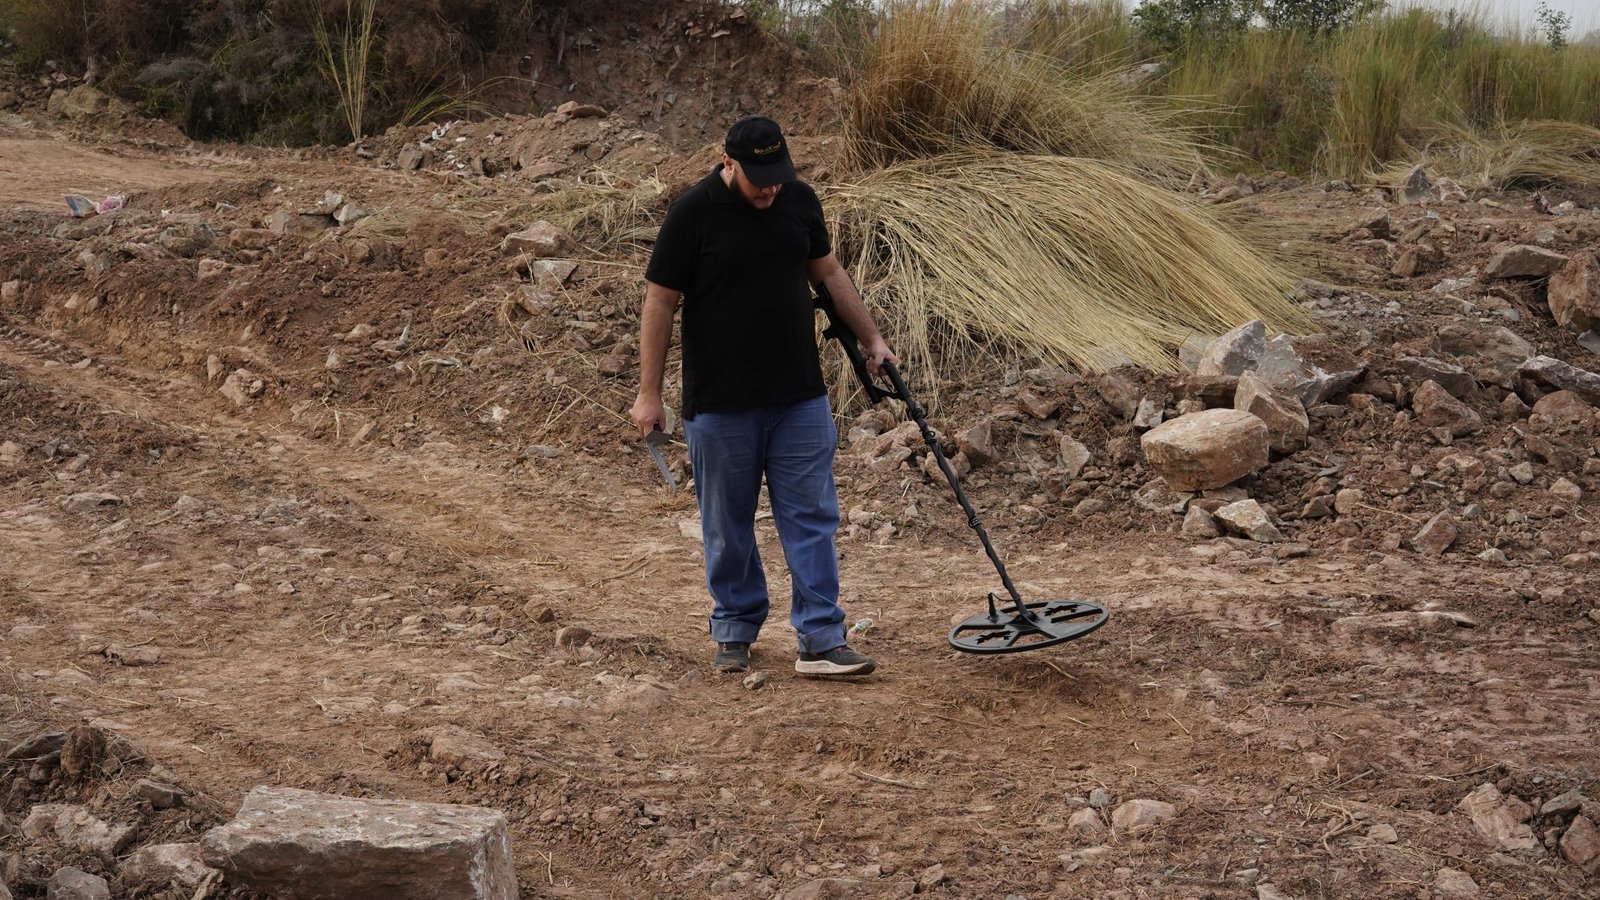
Gold Detector Buying Guide: How to Choose the Best Model in Zambia
Compare depth, discrimination, ground types, and features to pick the right gold detector for your budget.
Best Metal Detectors in Zambia: 2026 Picks for Gold, Coins & Relics
Discover powerful detectors for Zambian ground conditions—from entry-level to deep search systems.